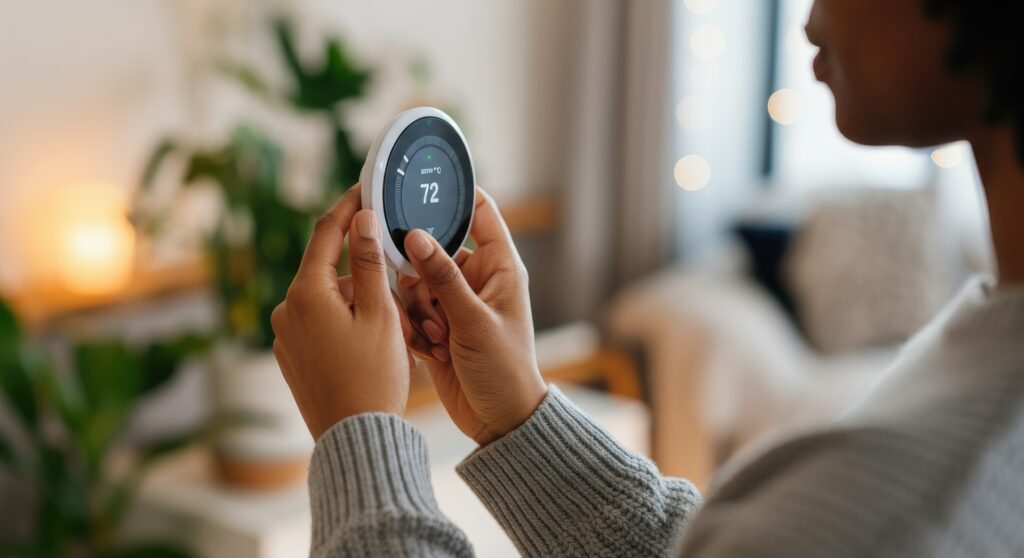
How to Troubleshoot a Thermostat That Won’t Turn On (Complete Homeowner Guide)
A thermostat is the control center of your home’s heating and cooling system. When it stops working or won’t turn on, your entire HVAC system can become unresponsive. This can leave your home uncomfortable, especially during extremely hot summers or freezing winters.
Fortunately, many thermostat problems are simple and can be fixed without calling an HVAC technician. In this guide, we will walk through the most common reasons a thermostat won’t turn on and provide step-by-step troubleshooting tips homeowners in the United States can follow.
Understanding How a Thermostat Works
Before troubleshooting, it helps to understand what a thermostat does.
A thermostat controls your HVAC system by sensing the temperature in your home. When the temperature drops below or rises above the set point, the thermostat signals the heating or cooling system to turn on.
There are three common thermostat types:
1. Manual Thermostats
These older models use mechanical switches and usually do not require batteries.
2. Programmable Thermostats
These allow you to set temperature schedules throughout the day.
3. Smart Thermostats
Modern Wi-Fi thermostats connect to apps and allow remote control.
Regardless of the type, the troubleshooting steps are mostly similar.
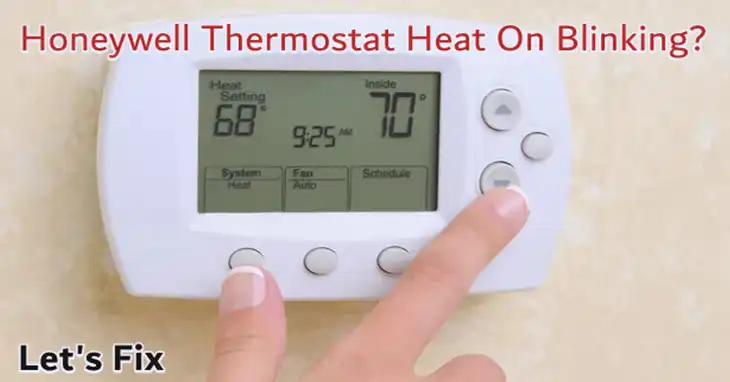
Signs Your Thermostat Isn’t Working
If your thermostat won’t turn on, you may notice these symptoms:
• The display screen is blank
• The thermostat doesn’t respond to button presses
• The HVAC system won’t start
• The temperature setting won’t change
• The system runs constantly or not at all
If you notice any of these issues, follow the troubleshooting steps below.
Step 1: Check the Thermostat Batteries
One of the most common reasons a thermostat won’t turn on is dead batteries.
Many digital thermostats rely on AA or AAA batteries for power.
How to Check
- Remove the thermostat from the wall mount.
- Locate the battery compartment.
- Replace the batteries with new ones.
- Reattach the thermostat.
If the screen lights up after replacing the batteries, the issue is solved.
Tip
Replace thermostat batteries once a year, preferably before winter or summer.
Step 2: Check the Circuit Breaker
If the thermostat still doesn’t turn on, the HVAC system might not be receiving power.
Your heating and cooling system is connected to your home’s electrical panel.
What to Do
- Go to your home’s breaker box.
- Look for the breaker labeled HVAC, Furnace, or AC.
- If the breaker is tripped, switch it OFF and then back ON.
After resetting the breaker, check if the thermostat display turns on.
Step 3: Check the HVAC Power Switch
Many homeowners don’t realize that HVAC systems often have their own power switch.
This switch usually looks like a regular light switch and is located near the furnace or air handler.
How to Check
- Locate your furnace or indoor HVAC unit.
- Look for a nearby power switch.
- Make sure it is turned ON.
If the switch was off, turning it back on may restore thermostat power.
Step 4: Inspect the Furnace Door
Modern furnaces have a safety switch that turns the system off if the access panel is open.
If the furnace door is loose or not fully closed, the thermostat may stop working.
What to Do
- Locate the furnace access panel.
- Ensure the panel is securely closed.
- Tighten any loose screws if necessary.
Once the panel is secured, the thermostat should receive power again.
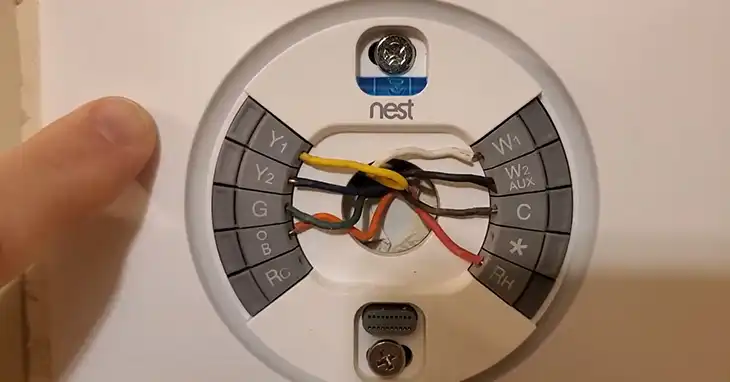
Step 5: Check the Thermostat Wiring
Loose or damaged wires can also cause the thermostat to stop working.
Safety First
Before touching any wires:
• Turn off power to the HVAC system at the breaker.
How to Inspect the Wiring
- Remove the thermostat from the wall plate.
- Check the wires connected to the terminals.
- Ensure each wire is securely attached.
Common thermostat wires include:
• R wire – power
• W wire – heating
• Y wire – cooling
• G wire – fan
If any wire appears loose, gently tighten it.
Step 6: Check the HVAC Fuse
Some HVAC systems include a small fuse inside the furnace control board.
If this fuse blows, the thermostat may lose power.
Steps to Check
- Turn off the HVAC system power.
- Open the furnace access panel.
- Locate the control board.
- Look for a small automotive-style fuse.
If the fuse is blown, replace it with one of the same rating.
Step 7: Clean the Thermostat
Dust buildup inside the thermostat can sometimes cause malfunction.
Cleaning Tips
- Turn off the system power.
- Remove the thermostat cover.
- Use a soft brush or compressed air to remove dust.
Avoid using water or cleaning chemicals.
Step 8: Check Your HVAC System
Sometimes the thermostat itself is not the problem.
If your furnace or AC system fails, the thermostat may appear unresponsive.
Common HVAC issues include:
• Blower motor failure
• Furnace ignition problems
• AC compressor failure
• Electrical wiring issues
If the HVAC system is the problem, professional repair may be required.
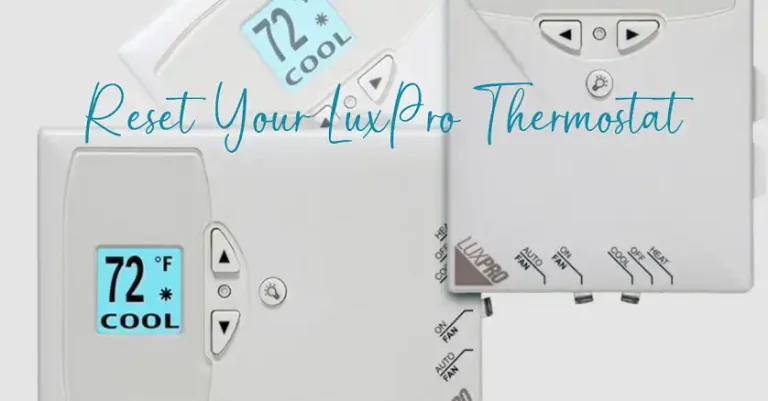
Step 9: Reset the Thermostat
Many modern thermostats have a reset function.
How to Reset
The process varies by model, but typically involves:
• Holding down the reset button
• Removing batteries for several minutes
• Using the thermostat menu settings
Check your thermostat manual for specific instructions.
Step 10: Replace the Thermostat
If none of the troubleshooting steps work, the thermostat itself may be faulty.
Thermostats usually last 10 to 15 years. After that, they may start failing.
Upgrading to a modern thermostat can improve comfort and energy efficiency.
Benefits of New Thermostats
• Better temperature accuracy
• Energy savings
• Smart home integration
• Remote control via smartphone
Many smart thermostats can reduce energy bills by optimizing heating and cooling schedules.
When to Call an HVAC Professional
While many thermostat issues are easy to fix, some problems require professional help.
You should call an HVAC technician if:
• The thermostat wiring is damaged
• Your HVAC system repeatedly trips breakers
• The furnace or AC unit won’t start
• Electrical components appear burnt or damaged
Professional diagnosis ensures the problem is fixed safely.
Preventing Thermostat Problems
Routine maintenance can prevent many thermostat issues.
Helpful Tips
Replace batteries annually
Keep the thermostat clean
Schedule yearly HVAC maintenance
Avoid placing heat sources near the thermostat
Heat sources such as lamps, TVs, or sunlight can cause inaccurate readings.
Final Thoughts
A thermostat that won’t turn on can be frustrating, but the issue is often simple to fix. Dead batteries, tripped breakers, and loose wiring are among the most common causes.
By following the troubleshooting steps in this guide, many homeowners can restore their thermostat and HVAC system without needing professional repairs.
However, if the problem persists, contacting an HVAC technician is the safest option.
Keeping your thermostat and HVAC system properly maintained ensures your home stays comfortable throughout the year.