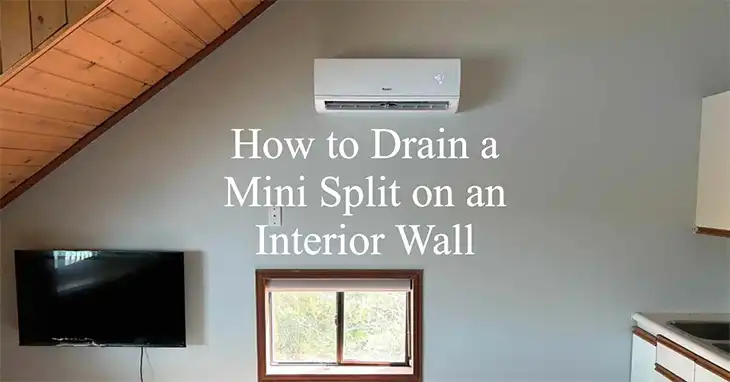
How to Drain a Mini Split on an Interior Wall | The Ultimate Guide
Short Answer: To drain a mini split on an interior wall, you need to ensure proper installation of the drainage pipe or condensate line. The system relies on gravity or a condensate pump to carry the collected moisture away from the indoor unit. If not installed correctly, or if the line gets clogged, water can accumulate inside the system, leading to leaks or inefficient operation. Draining involves clearing any blockages and ensuring that the condensate line is properly directed toward a suitable drainage point.
When installed on an interior wall, the process of draining a mini split requires attention to how the condensate line is run, as the absence of an exterior wall means that the drainage route is more complex. Depending on your system setup, it may also involve using a condensate pump to lift the water out and ensure proper drainage. Understanding the proper way to manage drainage is crucial for preventing leaks and maintaining efficiency.
How Mini Split Condensate Drainage Works
During normal cooling operation, the evaporator coil in the indoor mini split unit removes heat and moisture from the air, causing water vapor to condense into liquid form. This condensate collects in the unit’s drain pan and needs to be properly drained away to prevent overflows.
The condensate drain outlet is typically located near the bottom of the indoor unit. The amount of condensate produced can vary depending on factors such as humidity levels, usage patterns, and the size of the space being cooled.
Mini Split Drainage Options for Interior Walls
When it comes to draining a mini split installed on an interior wall, you have a few different options to consider:
- Gravity Drain with Pump Assist (Preferred Method): This method involves using a condensate pump to actively drain the condensate from the indoor unit to a suitable discharge location, even if it’s not directly below the unit. The pump provides the necessary lift to overcome the lack of a natural downward slope.
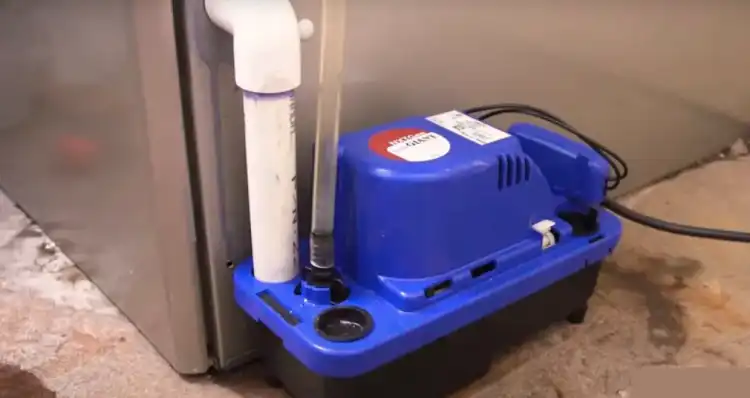
There are two main types of condensate pumps:
Internal Pumps: These are small pumps integrated within the indoor unit itself. They are compact but have limited lift capacity.
External Pumps: These are separate, larger pumps installed near the indoor unit. They offer higher lift capacity but require additional space and plumbing connections.
When selecting a condensate pump, consider factors such as the pump’s lift height capacity, flow rate, and noise levels. The installation process typically involves positioning the pump near the indoor unit (below the drain pan), connecting it to the drain pan and discharge line, and making the necessary electrical connections.
- Positive Pressure Drain Systems: These specialized systems use a fan or blower to create positive pressure in the drain line, allowing the condensate to be discharged horizontally or even upwards over short distances. They can be useful in situations where gravity drainage is not feasible and a condensate pump isn’t an option. However, positive pressure drain systems can be more complex and expensive to install.
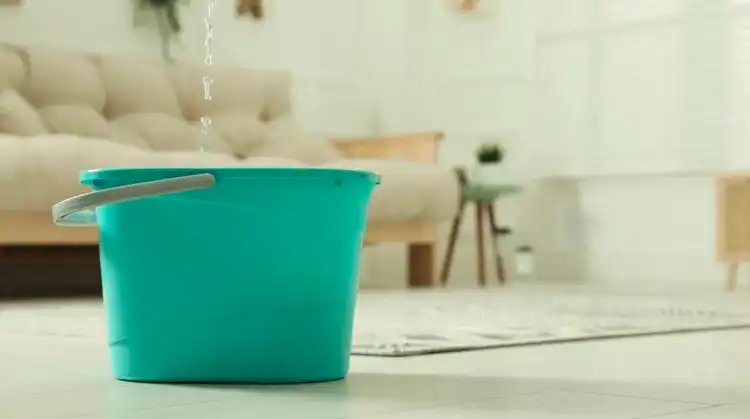
- Bucket Drainage (Temporary Solution): If all else fails, you can use a bucket or other container to catch the condensate from the drain outlet as a temporary solution. However, this method requires frequent emptying and is not recommended for long-term use due to the risk of overflows and potential water damage.
How to Choose the Right Drainage Solution
Selecting the appropriate drainage method for your interior wall mini split installation depends on various factors, including:
- Building layout and accessibility to a suitable discharge point
- Available space for a condensate pump (if required)
- User preferences (noise levels, maintenance requirements)
- Building code regulations (if applicable)
- Cost and complexity of installation
To help you make an informed decision, consider creating a decision matrix that weighs the pros and cons of each drainage method based on your specific situation.
For most scenarios, the gravity drain with pump assist method is the preferred choice as it offers a reliable and relatively simple solution. However, if gravity drainage is not feasible due to significant elevation changes or other obstacles, a positive pressure drain system may be a better alternative, albeit more complex and expensive.
Step-by-Step Installation Guide for Mini Split Drainage System
Regardless of the drainage method you choose, proper installation is crucial to ensure a well-functioning and leak-free condensate drainage system. Here’s a general step-by-step guide to follow:
Gravity Drain Installation
- Prepare the drain route: Determine the most suitable path for the drain line, considering factors like accessibility and minimizing the number of turns. Drill holes through walls or floors as needed, taking care to seal any penetrations to prevent air leaks.
- Connect the drain line: Using the appropriate pipe material (typically PVC), connect one end of the drain line to the condensate drain outlet on the indoor unit. Ensure a proper, leak-free connection using recommended fittings and sealants.
- Maintain proper slope: Run the drain line with a consistent downward slope (at least 1/4 inch per foot) toward the discharge point to allow for gravity drainage. Avoid any dips or air locks that could trap condensate.
- Connect to the discharge point: Terminate the drain line at a suitable discharge location, such as a floor drain, utility sink, or condensate pump (if using a pump assist system). Follow local plumbing codes and best practices for this connection.
- Test the system: Once everything is connected, turn on the mini split and verify that condensate is flowing smoothly through the drain line without any leaks or blockages.
Condensate Pump Installation
- Position the pump: Choose a suitable location for the condensate pump, ideally near the indoor unit and below the drain pan for easy access and proper drainage. Consider factors like noise levels and accessibility for maintenance.
- Connect the pump: Following the manufacturer’s instructions, connect the pump’s inlet to the indoor unit’s drain pan using the provided tubing or fittings. Then, run the discharge line from the pump’s outlet to a suitable drainage point (floor drain, utility sink, etc.).
- Electrical hookup: Carefully follow all safety guidelines and local codes when making the electrical connections for the condensate pump. This may involve hardwiring the pump to a dedicated circuit or using a grounded outlet, depending on the pump type and installation requirements.
- Test operation: Once everything is connected and powered on, verify that the pump is operating correctly and discharging condensate properly without any leaks or issues.
Summing Up
Proper condensate drainage is crucial for the efficient and long-lasting operation of your mini split air conditioning system, especially when installed on an interior wall. By understanding your drainage options, carefully planning and executing the installation, and maintaining the system regularly, you can enjoy a comfortable, worry-free cooling experience.
If you’re comfortable with basic DIY tasks, installing a gravity drain with a pump assist or a temporary bucket drainage solution may be within your capabilities. However, for more complex installations or persistent drainage issues, it’s always recommended to consult a licensed HVAC professional. They have the expertise and specialized tools to ensure a safe and code-compliant installation tailored to your specific needs.