How to Move a Thermostat Without Rewiring?
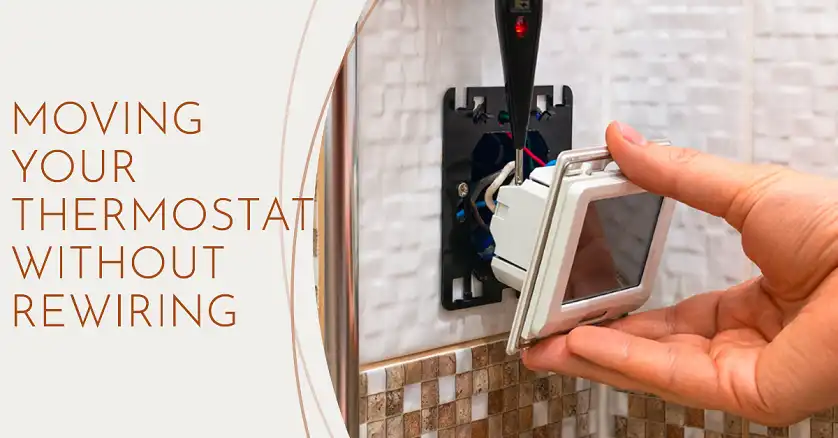
Have you ever wished you could move your thermostat to a more convenient or effective location, but dread the thought of tearing into your walls and rewiring your entire system? You’re not alone. Many homeowners face this dilemma, whether it’s due to renovations, improving temperature accuracy, or simply for aesthetic reasons. The good news is that it’s entirely possible to relocate your thermostat without the hassle and expense of rewiring.
The key to moving your thermostat without rewiring lies in three main approaches: using wireless thermostats, extending existing wiring, or employing remote thermostats. Each method has its own advantages and considerations, which we’ll explore in detail. Let’s start.
Understand Your Current Setup First
Before diving into the relocation process, it’s crucial to understand your current thermostat setup. This knowledge will help you make informed decisions about the best method for moving your thermostat.
Identifying Your Thermostat Type
Thermostats generally fall into three categories:
- Mechanical: These older models use physical mechanisms like bimetallic strips or mercury switches.
- Programmable: Digital thermostats that allow you to set temperature schedules.
- Smart: Wi-Fi-enabled thermostats that offer advanced features like remote control and learning capabilities.
According to a 2021 study by Parks Associates, about 40% of U.S. households with broadband internet now have a smart thermostat, showing a growing trend towards more advanced temperature control systems.
Examining Existing Wiring
Take a close look at your current thermostat’s wiring. Most thermostats use a standardized color-coding system for wires:
- Red (R): Power
- White (W): Heat
- Yellow (Y): Air conditioning
- Green (G): Fan
- Blue or Black (C): Common wire (not always present)
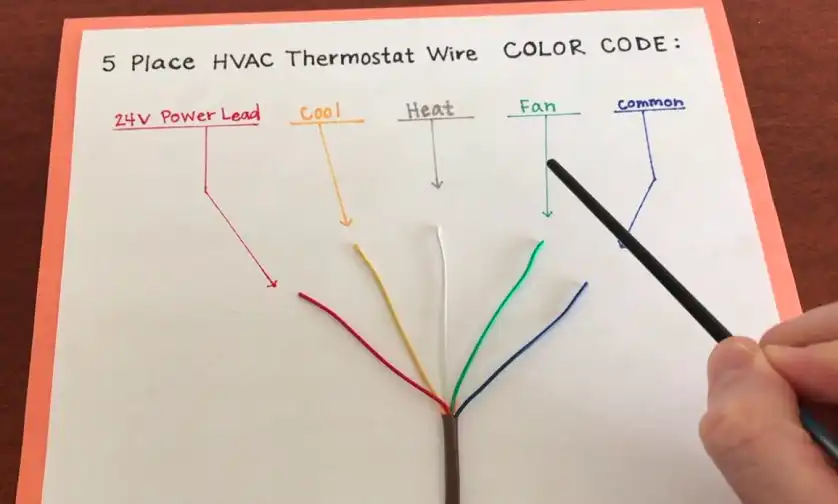
Image: thermostat wire color diagram
Assessing Feasibility of Moving
Consider these factors when determining if you can move your thermostat without rewiring:
- How far is the new location from the current one? Generally, moves of less than 25 feet are more feasible without rewiring.
- Are there walls, doors, or other structural elements between the current and desired locations?
- Is the existing wiring in good condition and long enough to potentially extend?
A survey by the National Association of Home Builders found that the average size of a new single-family home in the U.S. is about 2,500 square feet. In a home this size, moving a thermostat to a central location could potentially improve temperature regulation by up to 10-15%, according to HVAC professionals.
Methods for Moving a Thermostat Without Rewiring
Now that you understand your current setup, let’s explore the three main methods for moving your thermostat without rewiring.
1. Wireless Thermostats
Wireless thermostats communicate with your HVAC system without the need for direct wiring. They come in three main types:
- Wi-Fi Thermostats: These connect to your home’s Wi-Fi network and can be controlled via smartphone apps.
- Radio Frequency (RF) Thermostats: These use radio waves to communicate with a receiver connected to your HVAC system.
- Infrared (IR) Thermostats: Similar to a TV remote, these use infrared signals to control your system.
Here’s a comparison table of these wireless thermostat types:
| Type | Range | Features | Average Cost |
| Wi-Fi | Up to 50 ft from router | Remote control, smart home integration | $100-$300 |
| RF | 30-100 ft | Reliable connection, no line of sight needed | $50-$150 |
| IR | Up to 30 ft | Simple operation, affordable | $30-$100 |
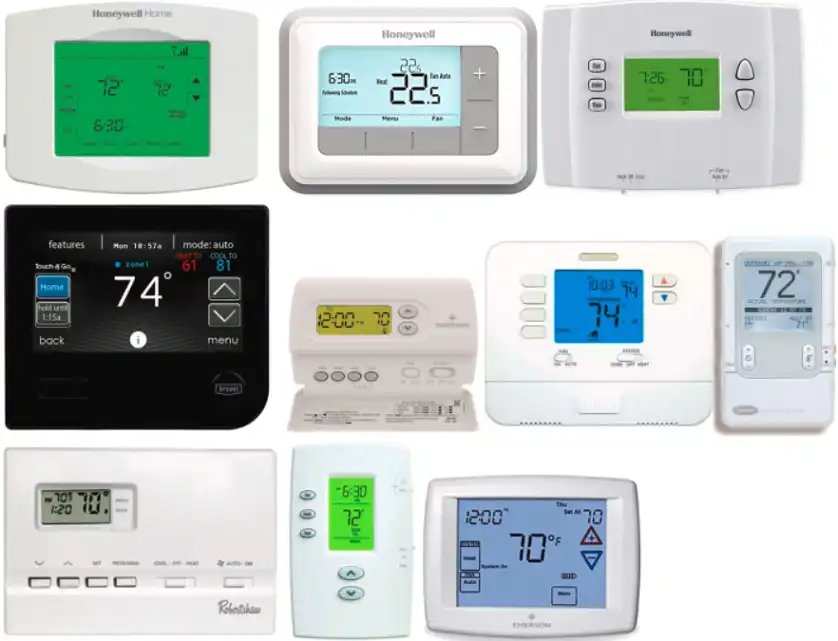
Image: different types of wireless thermostats
2. Extending Existing Wiring
If wireless isn’t an option, you might be able to extend your existing wiring. This method involves using thermostat extension cables to bridge the gap between your current wiring and the new location.
To extend your wiring:
- Purchase a thermostat extension cable kit, ensuring it matches your wire gauge (typically 18 or 20 AWG).
- Carefully disconnect the existing wires from your old thermostat.
- Connect the extension cables to your existing wires using wire nuts or crimp connectors.
- Run the extension cables to your new location, concealing them along baseboards or behind walls if possible.
- Connect the extension cables to your thermostat at the new location.
Remember, the National Electrical Code (NEC) recommends not exceeding 50 feet when extending low-voltage thermostat wiring to maintain signal integrity.
3. Remote Thermostats
Remote thermostats offer a hybrid solution. They consist of two parts:
- A sensor unit placed in your desired location
- A control unit connected to your HVAC system
The sensor unit measures the temperature in its location and communicates wirelessly with the control unit. This method allows you to effectively “move” your thermostat without touching the existing wiring.
Remote thermostats can improve temperature accuracy by up to 20% in homes with significant temperature variations between rooms, according to a study by the American Society of Heating, Refrigerating and Air-Conditioning Engineers (ASHRAE).
Selecting the Right Solution
Choosing the best method depends on several factors:
- Compatibility: Ensure your chosen solution works with your existing HVAC system. Most modern systems are compatible with wireless options, but older systems may require specific models.
- Features: Consider what features are important to you. Do you want smartphone control? Energy usage reports? Learning capabilities?
- Budget: Wireless and remote thermostats typically cost more upfront but can lead to energy savings. Extending wiring is usually the most budget-friendly option but may require more DIY skills.
- Installation complexity: Wireless thermostats are generally the easiest to install, while extending wiring might require more technical know-how.
A survey by Nest found that 99.5% of their customers successfully installed their smart thermostats without professional help, indicating that DIY installation is feasible for most homeowners.
Step-by-Step Installation Process for Thermostat Relocation
Regardless of the method you choose, follow these general steps for a successful thermostat relocation:
- Turn off power to your HVAC system at the circuit breaker.
- Remove the old thermostat, taking note of the wiring configuration.
- Install your new thermostat or sensor at the desired location, following the manufacturer’s instructions.
- If extending wiring, connect the extension cables as described earlier.
- For wireless or remote thermostats, install any necessary receivers or control units near your HVAC system.
- Restore power and test your new setup.
- Program your thermostat according to your preferences.
The entire process typically takes 1-3 hours, depending on the complexity of your chosen method and your DIY experience level.
Troubleshooting Common Thermostat Issues after Relocation
Even with careful installation, you might encounter some issues. Here are solutions to common problems:
- Connection problems: For wireless thermostats, ensure your Wi-Fi signal is strong at the new location. For wired extensions, double-check all connections.
- Inaccurate readings: Allow 24-48 hours for your system to calibrate. If issues persist, check for nearby heat sources or drafts that might be affecting the readings.
- Short cycling: If your HVAC system turns on and off too frequently, you may need to adjust the temperature differential settings on your thermostat.
According to a report by HomeAdvisor, about 40% of HVAC service calls are due to thermostat issues, many of which can be resolved through proper installation and troubleshooting.
Optimizing Thermostat Performance
To get the most out of your relocated thermostat, place it at least 5 feet above the floor and away from direct sunlight, drafts, or heat sources. Always keep it clean and free from dust. Aim for annual replacement of batteries in battery-powered units.
For smart thermostats, ensure your Wi-Fi network is stable and secure, for a steady and smooth performance.
Frequently Asked Questions
Do thermostat wires carry electricity?
Yes, thermostat wires do carry electricity, but it’s typically low-voltage (24 volts AC) for safety reasons. This is enough to power the thermostat and send signals to your HVAC system, but not enough to pose a significant shock hazard. However, it’s always best to turn off the power at the circuit breaker before working with any electrical wires.
Is a thermostat just a switch?
While a basic thermostat does function as a switch, turning your heating or cooling system on and off, modern thermostats are much more complex. They often include sensors, microprocessors, and in the case of smart thermostats, Wi-Fi connectivity and learning algorithms. So while the core function is similar to a switch, today’s thermostats are sophisticated devices that do much more than simply turn systems on and off.
Are thermostats AC or DC?
Most home HVAC systems use 24-volt AC (alternating current) power for thermostats. However, the internal circuitry of digital thermostats often converts this to DC (direct current) for their electronic components. Battery-powered thermostats use DC power from their batteries.
How many volts does a thermostat send?
Standard home thermostats typically send 24 volts AC to control HVAC equipment. This low voltage is safer to work with than the high voltage (120 or 240 volts AC) that powers the HVAC equipment itself.
Bottom Line
Moving your thermostat without rewiring is not only possible but can also lead to improved comfort and energy savings. Whether you opt for a wireless solution, extend your existing wiring, or use a remote thermostat system, the key lies in careful planning and proper installation.
Remember, while many homeowners successfully complete this project themselves, don’t hesitate to consult a professional if you’re unsure about any step of the process. Your comfort, safety, and potential energy savings are well worth the effort of relocating your thermostat to its optimal position.